Let’s create a successful business card
Business cards are one of the easiest ways your client can make a memorable first impression. Here’s everything you need to dazzle them with top-notch business card design.
Your client just ordered business cards (score!) but you’ve got some questions. No fear, we’re here. Read on for specifications, design do’s & dont’s, and a glossary of design terms. It’s everything you’ll need to hand-off an awesome design.
Size and specifications
Yes, “sizes and shapes may vary,” but most business cards fit the mold. Standard business cards are horizontal and rectangular with slightly different sizes for American and European printers. Follow these specifications to ensure your cards print correctly. But if your client wants a special business card shape, you’ll need to request specifications directly from them.
US horizontal business card
- Standard dimensions: 3.5 x 2 inches
- Bleed size: ⅛ extra (total size inc. bleed would be 3.75 x 2.25 inches)
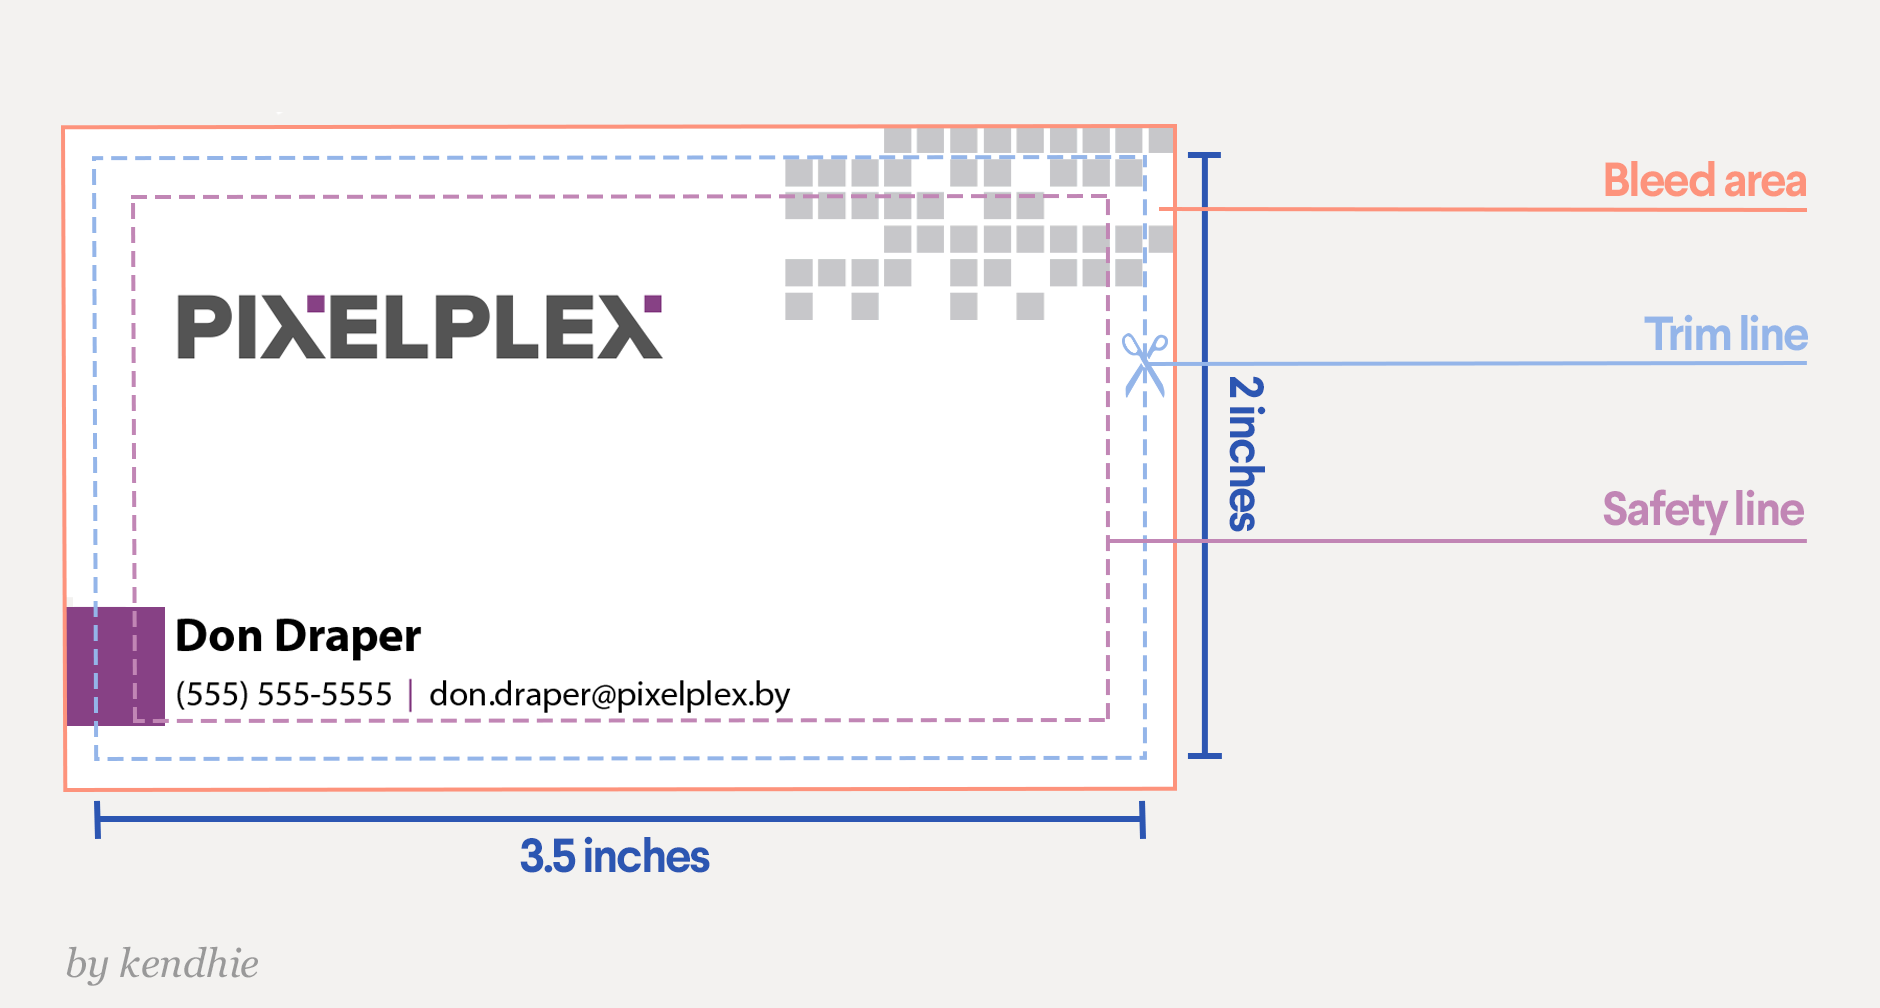
Download a template
—
—
EU horizontal business card
- Standard dimensions: 85 x 55 mm
- Bleed size: 3 mm (total size inc. bleed would be 91 x 61 mm)
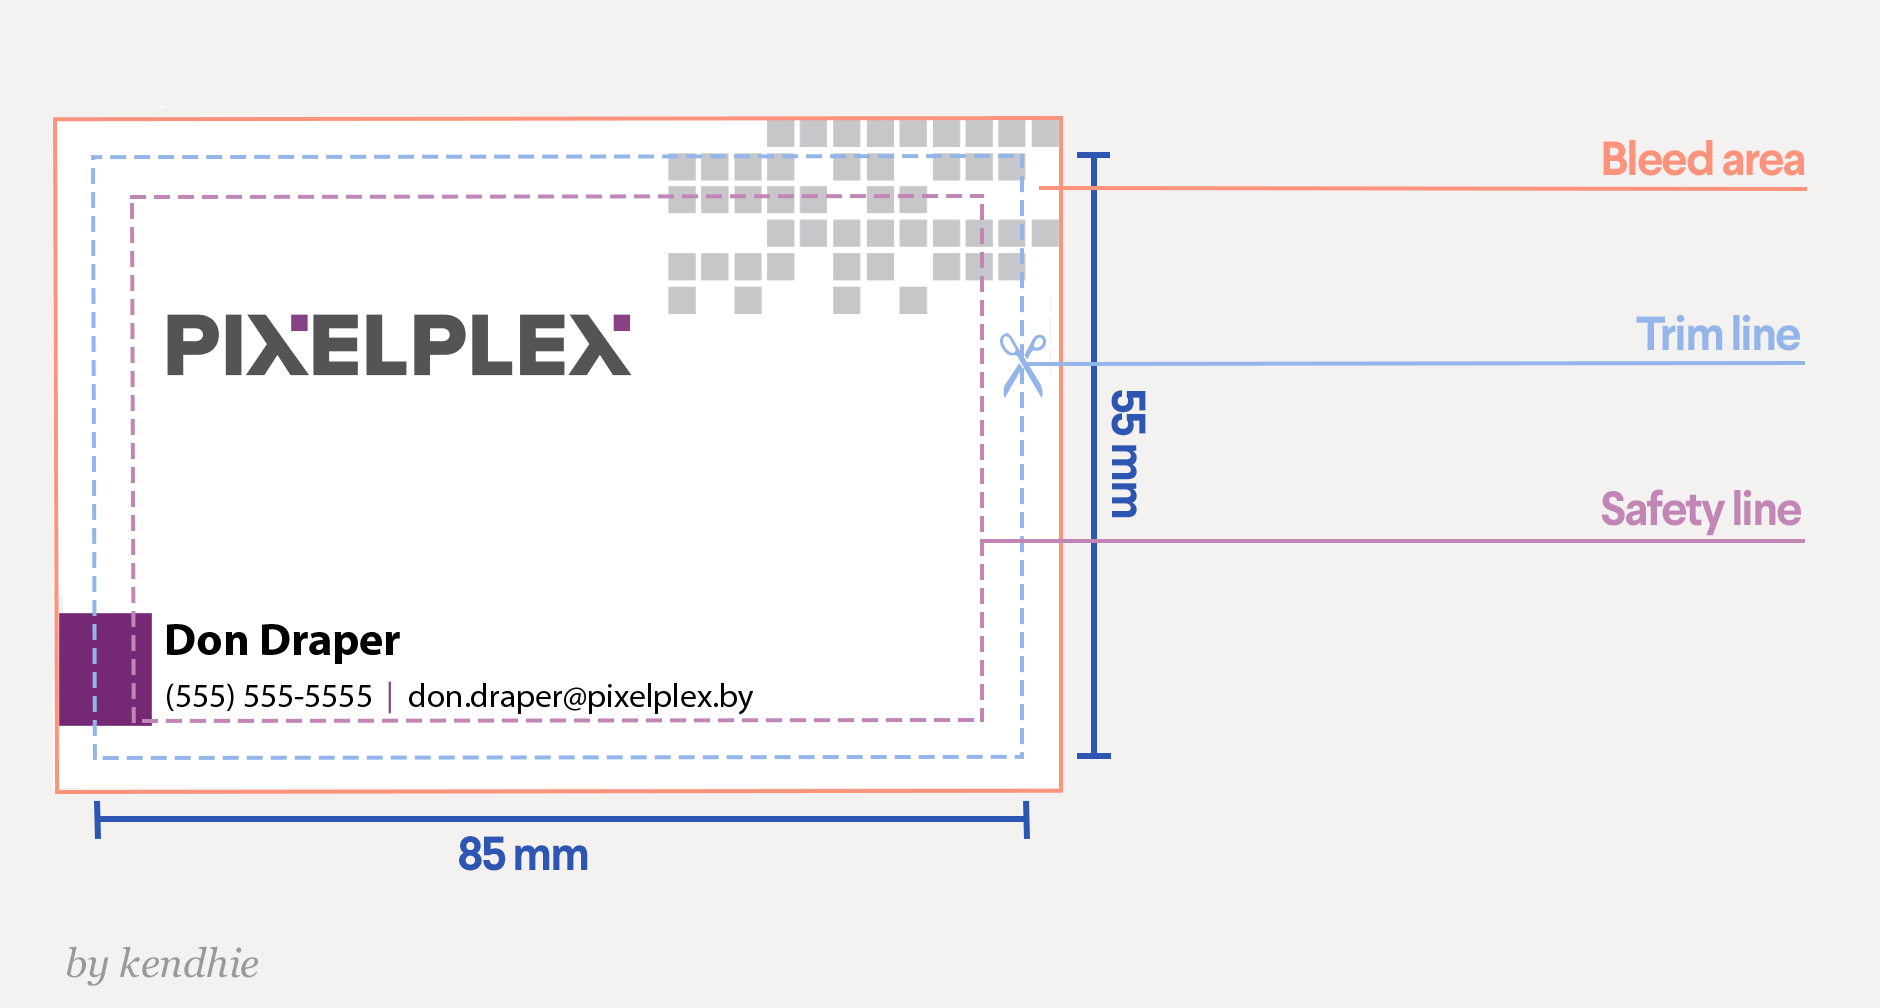
Download a template
—

Submitting to your client
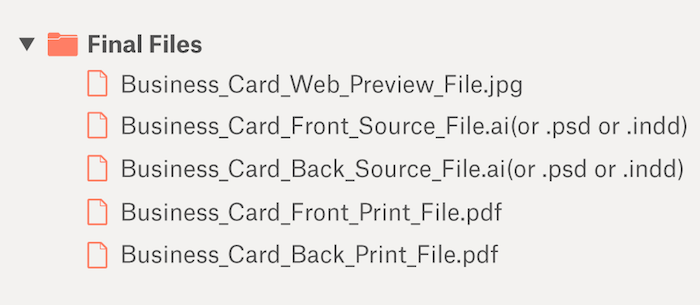
Once your client has approved the final design, send them all of the design files. Here’s what they need:
- A layered, editable source file of the final design (AI, PSD, EPS or INDD) in which the fonts are not outlined
- A print-ready PDF file with all the fonts outlined
- All web preview images (JPEG or PNG)
- A link to purchase any commercial fonts used in the design
Make sure all files are saved in the CMYK color mode and 300dpi resolution.
Do’s and don’ts
Great design never came from following rules. So, break ‘em! Except for these. They’re pretty important. Stick to these guidelines to ensure your text, images and layout are perfect.
-
 by sheva™
 -

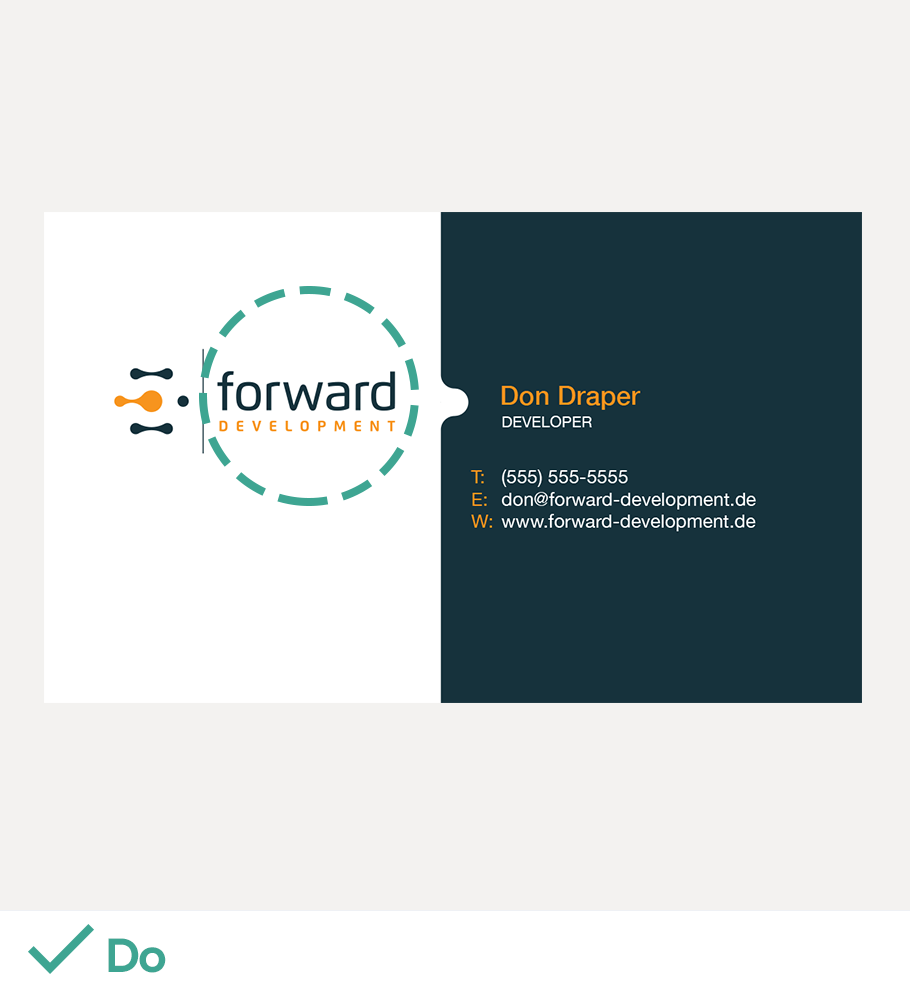
DO make the company name/logo larger than 12pt.
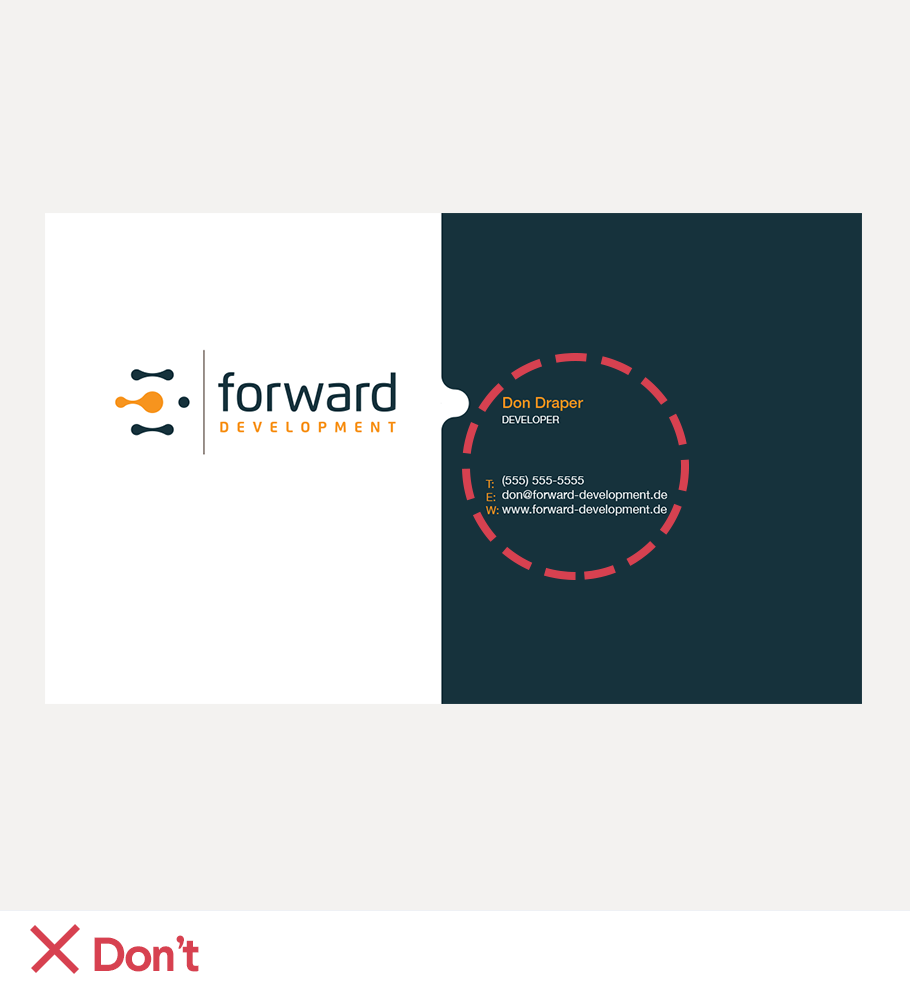
DON’T use any font sizes smaller than 8pt.
DON’T use any font sizes smaller than 8pt.
DO outline fonts for permanent text such as company name and slogan.
DON’T outline fonts for editable text such as contact information in your source files.
DON’T outline fonts for editable text such as contact information in your source files.
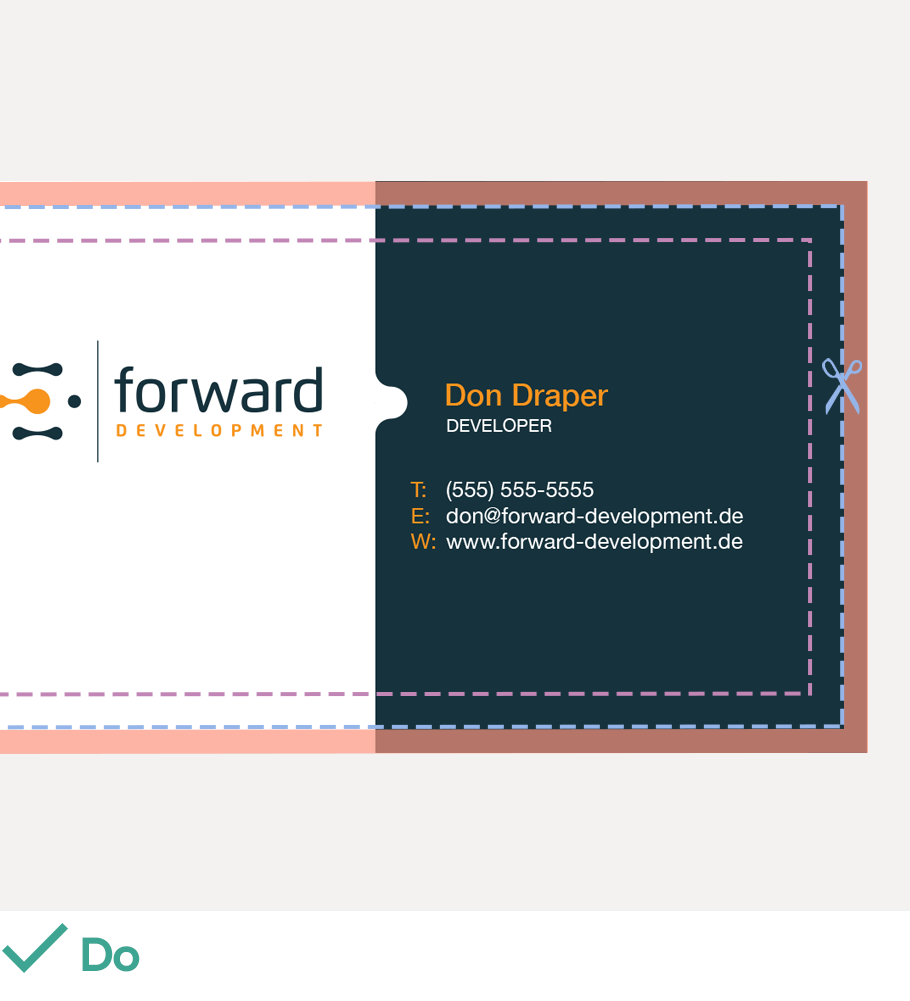
DO stretch your design to the edge of the bleed area.
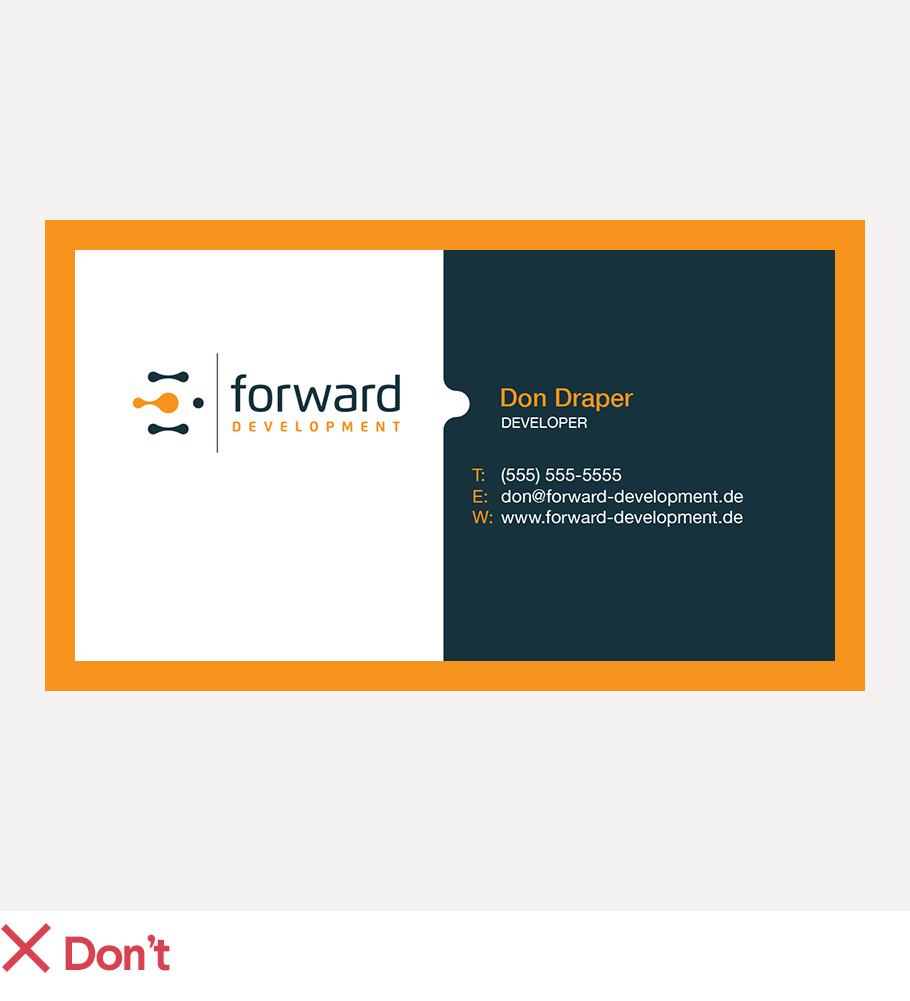
DON’T use borders because they’ll probably look lopsided after printing.
DON’T use borders because they’ll probably look lopsided after printing.
DO erase guide layers before submitting your file to the client.
DON’T submit more than one design in a file.
DON’T submit more than one design in a file.

The dictionary of design
CMYK and RGB... droids from Star Wars, right? Design lingo can be a little tricky, but we can translate. Here are some design and printing terms you’ll need to know.
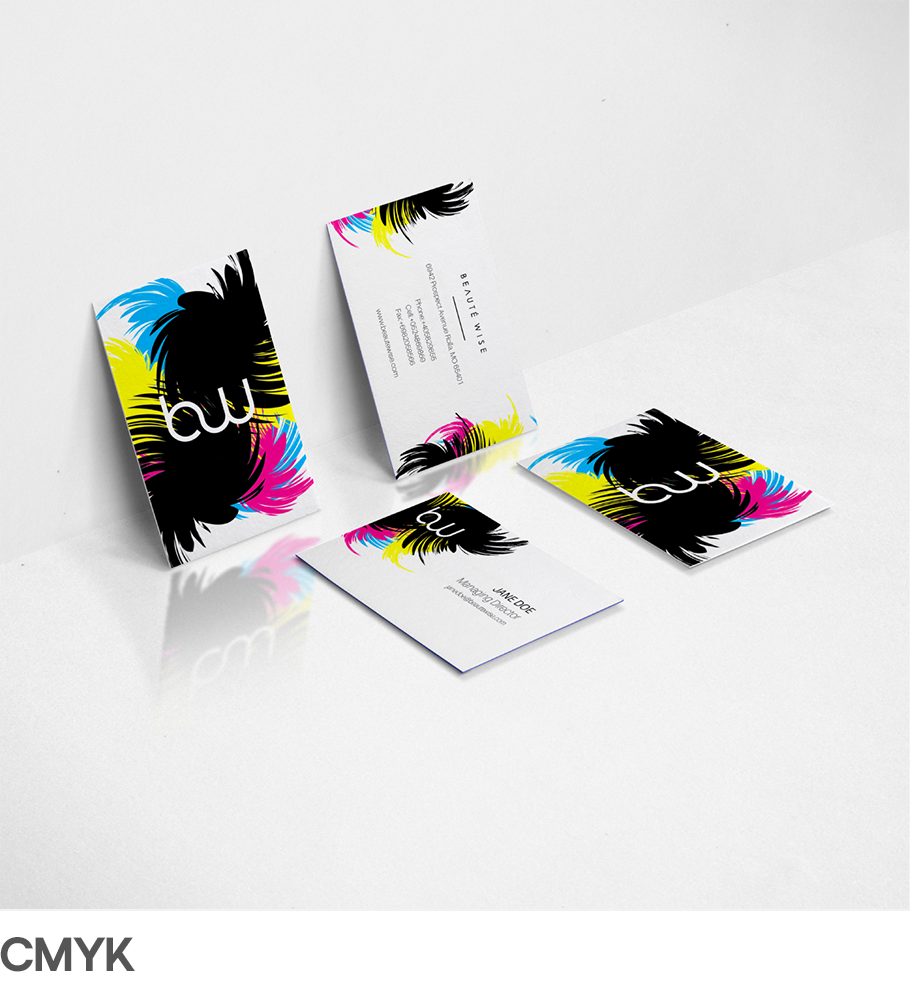
Color mode
How colors are represented in your design
- CMYK: An ink-based mode used in print.
- RGB: A light-based mode used on-screen.
-
 by Owley
 -
 by A&V
Resolution
The amount of pixel detail in an image
- Low resolution: Few pixels make the image pixelated.
- High resolution: Many pixels make the image sharp.
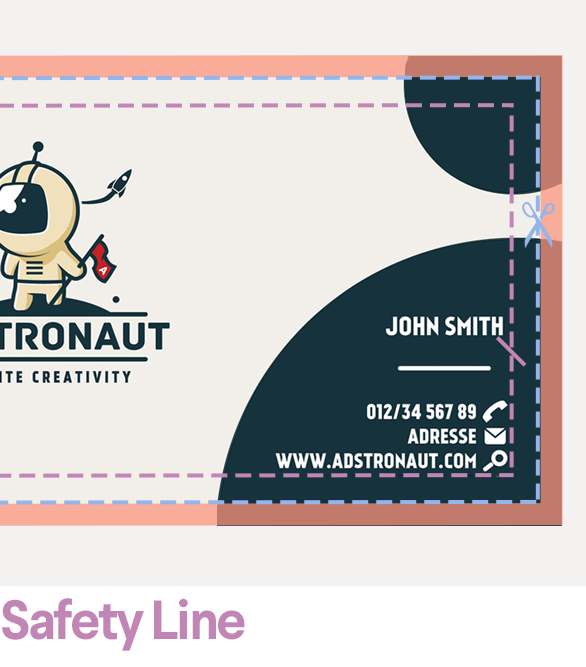
Print guidelines
Measurements to ensure top-notch printing
- Trim Line: Where the printer will cut your image.
- Bleed: The area beyond the trim line that extends printing to the edge.
- Safety Line: The border that contains all printable text.
-
 by Widakk
 -

-

Shape and orientation
How your design physically appears
- Horizontal: Short, wide, and landscape-style. The classic card.
- Vertical: Tall, skinny, and portrait-style. Turning normal on its side.
- Folding: Rectangular with a crease. Standard but stand-out.
- Die-cut: Any size, any shape. A bold way to go beyond basic.
-
 by pecas
 -
 by jessica-cauchi
 -
 by bo_rad
 -
 by Herminia"
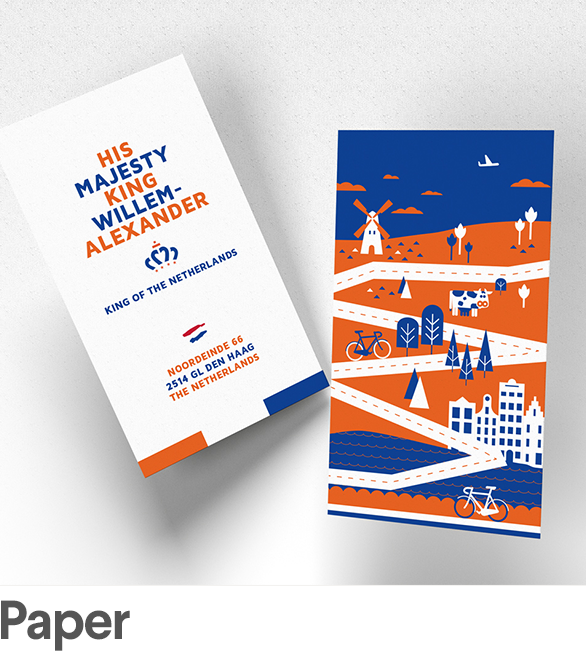
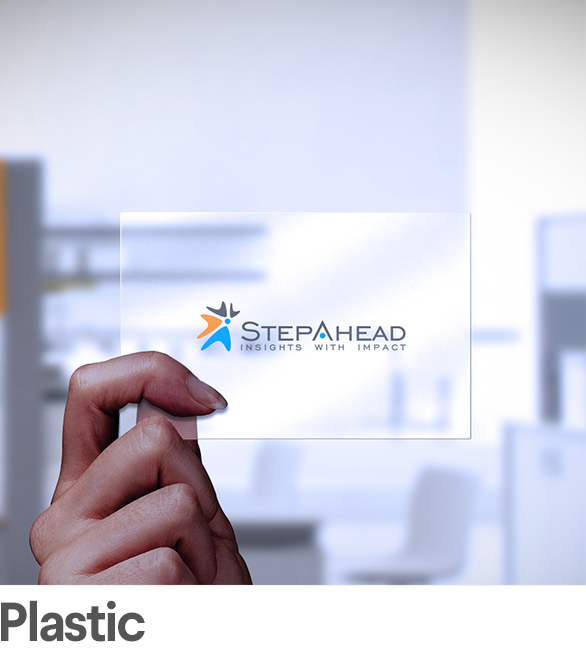
Material
What your design is printed on
- Paper: Thin, thick, matte, glossy. Endless colors and endless options.
- Plastic: Transparent, durable and waterproof. A clear way to be clever.
- Anything: Steel. Wood. Fabric. Make a one-of-a-kind first impression.
-
 by Nabeel
 -
 by AlexSa
 -
 by pecas
Printing techniques
How your design is printed
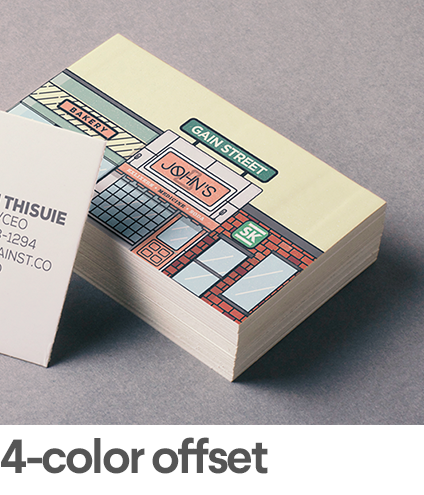
- 4-color offset: The standard, full color printing process.
- 1- or 2-color: Limited color for limited budgets.
- Foil ink: Specialty process that uses metallic foil rather than ink.
- Spot color: Color generated by an ink (pure or mixed) printed using a single run.
-
 by Nick Terry
 -
 by Kelvin & Cynthia
 -
 by Rose''
 -
 by Jecakp
Finishes
The final touches made to your print
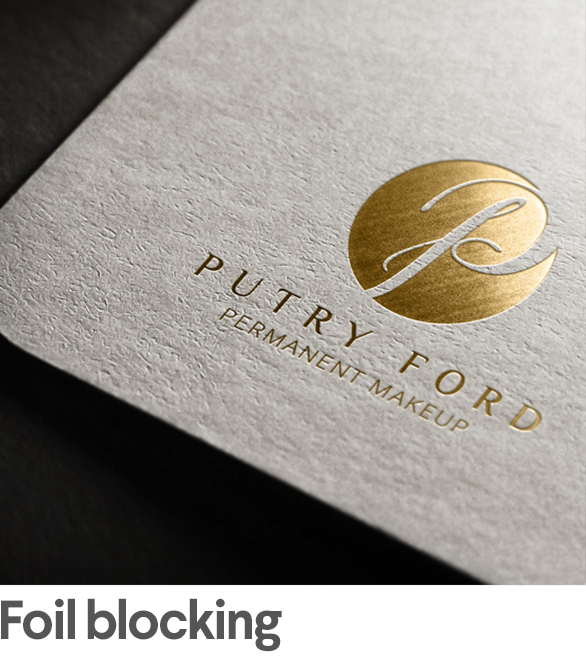
- Foil blocking: Metallic, foil finishes applied with a heated stamp.
- Embossing: Raised textures applied to the material using heat.
- Spot UV: A glossy finish applied to specific areas on the print.
-
 by AlexandraMan
 -
 by Dimitry99
 -
 by Jecakp

Want to learn more?
From the blog
- 10 clever ways to make your next business card design pop
- Master the business card printing process
- Create an editable PDF business card template in 7 steps with Adobe Acrobat
- 7 tips for designing print-ready business cards
- 4 tips to get you started in business card design
- 5 unconventional tips for a better business card
- 8 common print file mistakes and how to avoid them


